You may or may not be familiar with the
WordPress gallery feature but it is an alternate option to add multiple images to a post. We’ll take a look at how it works out of the box for WordPress 3.6.1.
Ultimately, this will lead to the discussion of adding slideshows to your website so let’s look at slideshows in general. We’ll leave the topic of slideshows on homepage banners and headers for another article and focus on your actual page content. One question you must ask yourself is, “Are my visitors at a point in my site where they will take the time to sit back and view the slideshow I am about to present them?”
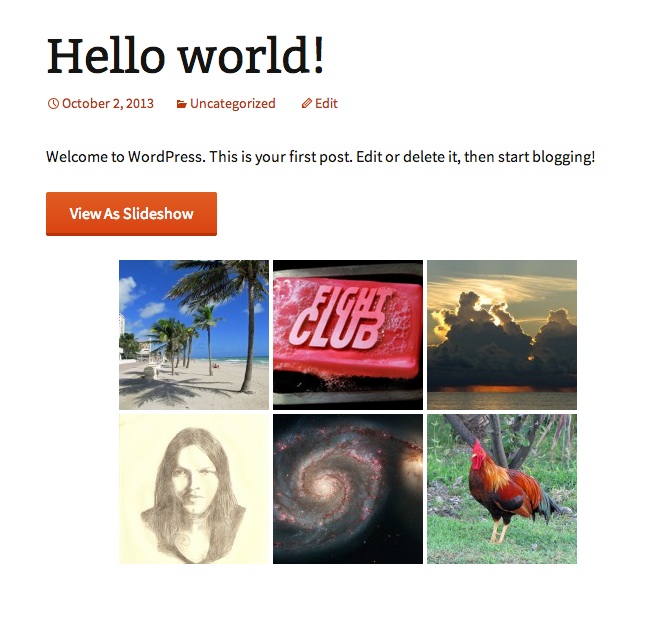
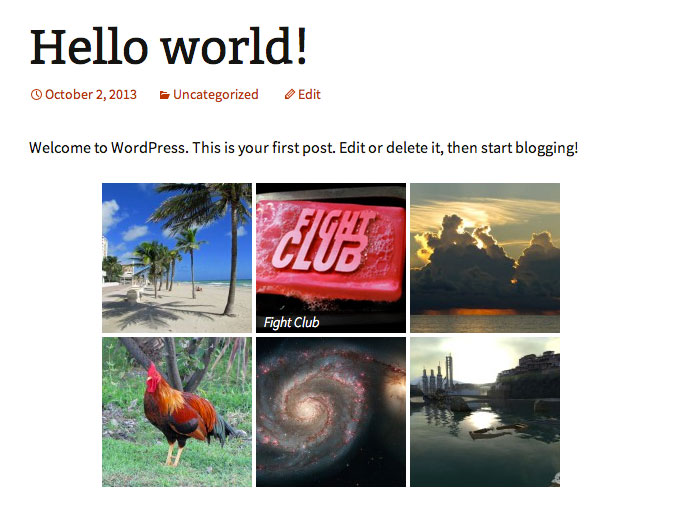
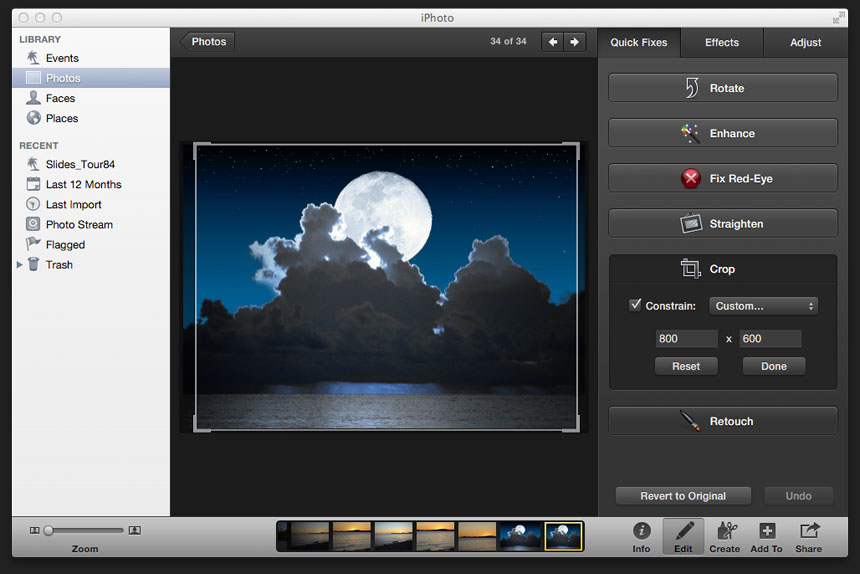
The nice thing about the WordPress gallery is that you are presented with a simple grid of decent sized thumbnails about 150px square each (the default WordPress thumbnail size), of all the pictures in the gallery. You can change the default thumbnail size in the WordPress admin > Settings > Media panel.
So at a glance a site visitor can see all the content of the gallery and decide from there if they want to take a closer look. Some slideshows have a strip of tiny thumbnails under the main slide area but they are usually too small to be of much help, and not all the pictures in the gallery can be seen.
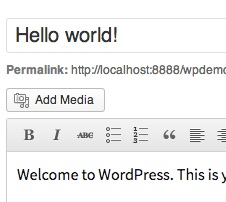
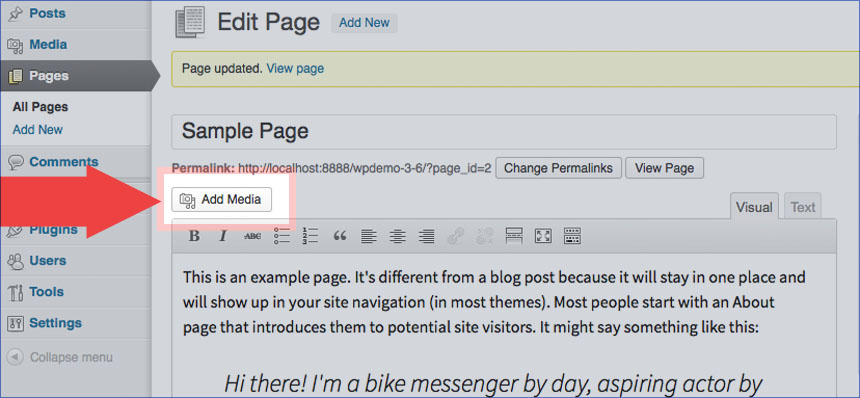
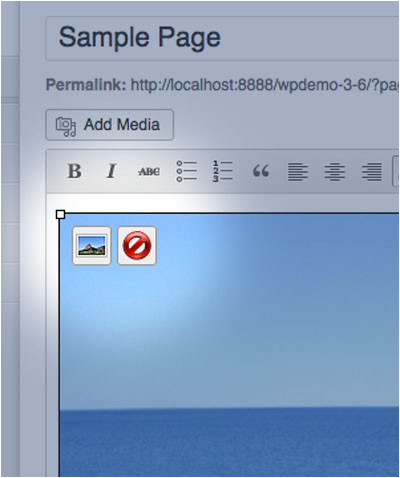
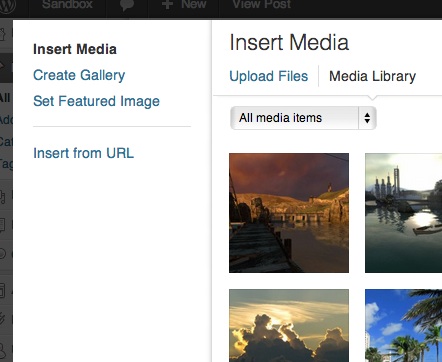
How do we add a gallery to a page or post? We start with the ‘Add Media’ button on the edit post screen, which is the same step we would perform if we were just adding a single picture. When you get to the Insert Media window you can then choose ‘Create Gallery’ from the left hand menu. You can select images from your existing media library or upload new ones. Once you have selected all the pictures you need in the gallery, you can click the ‘Create a new gallery’ button.
Once the gallery is created you can drag and drop to change the image order. Choose the number of columns in the gallery setting menu on the right and the ‘Link To’ setting. The ‘Link To’ setting requires a little explanation. There are 3 options: ‘Attachment Page’, ‘Media File’ and ‘None’. This setting determines what will happen when a user clicks on an image in the gallery. The third setting ‘None’ is the simplest. Nothing will happen when a user clicks an image. ‘Attachment Page’ is the default setting which means that the user is taken to a page generated by WordPress containing a full size version of the image they clicked as well as a previous and a next link, which allows you to cycle through every attachment that was ever associated with the post even if it was removed. I will discuss this behavior more, later. The remaining option, ‘Media File’ takes the user to a blank page containing the full size image. The user would then have to hit the back button of the browser to get back to the gallery.
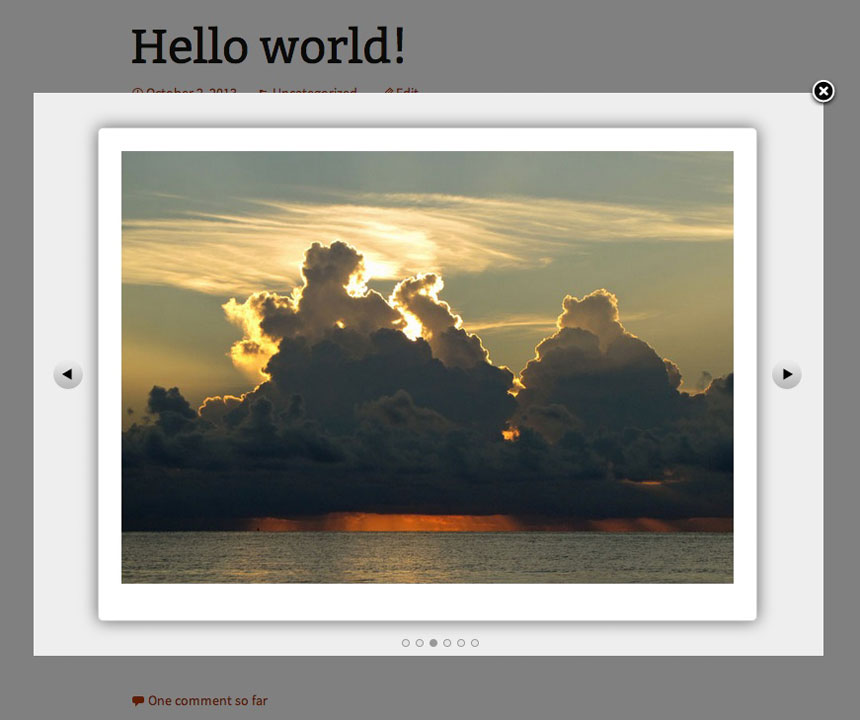
The ‘Attachment Page’ (default) option is probably the best of the 3 options. There are a couple of drawbacks to this option to be aware of. One is the navigation back to the gallery. It may not be obvious to the user where to link back to the main article, at least not in the default WordPress theme. It depends on how the attachment template for that theme is built. Another drawback is the fact that a new page is loaded for each different attachment image when you use the ‘Prev’ and ‘Next’ buttons. This fact becomes very inconvenient when a user has to scroll down the page after every page load to see an entire image. As I mentioned previously the ‘Prev’ and ‘Next’ buttons scroll through every attachment ever used by that post, even after it is removed from a gallery. What I eventually ended up doing was building a plugin that overrode the ‘Link To’ setting and added a ‘View As Slideshow’ button to the gallery. When a user clicks the button or one of the images in the gallery a slideshow window pops up and in the case where an image is clicked, that image is displayed in the slideshow window. Forward and back buttons are provided so that the user can scroll through the images in the gallery if they want.